YouTube, LLC is an American video-sharing website created in February 2005. Anyone can upload videos to YouTube. Users need either a YouTube account, or they can connect with Google. Videos range from “how-to’s”, vloggers, music videos, and even watching shows or movie clips.
In the upper right hand corner of the main homepage, there is a small camera icon with a plus sign in it. This button allows users to upload videos or “go live”. Going live means that people can be recording the videos, at the same time that people can watch what they are videoing. 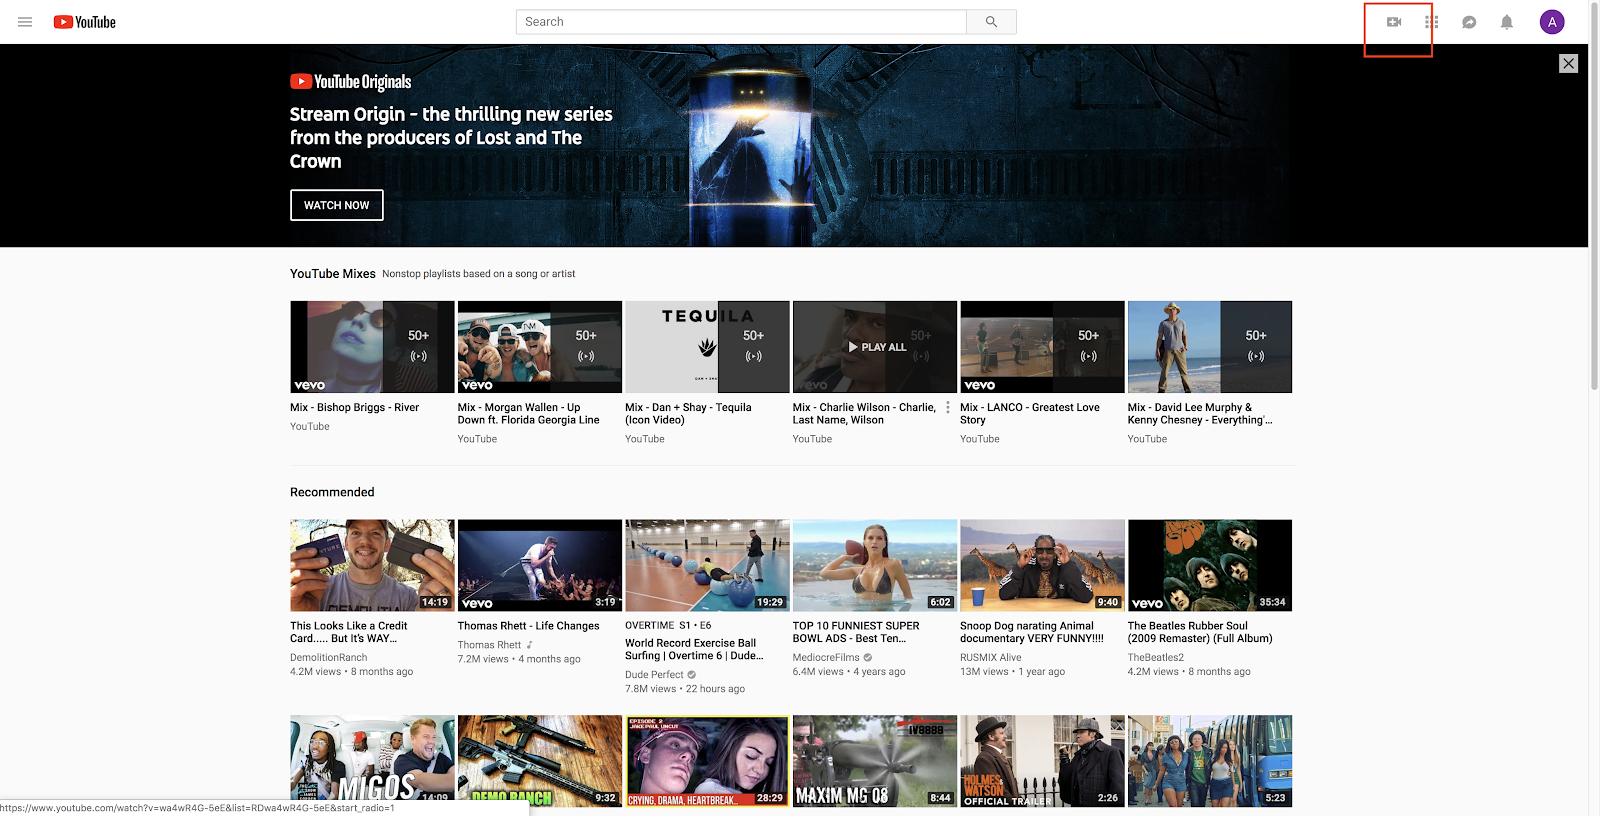
After clicking “Upload Video”, you are prompted to a screen that allows you to choose your file you want to upload, as well as, choose the privacy settings you want for your video.
Public means that anyone can view your video, and this is the default setting so make sure you change this setting if you do not want it to be public.
Unlisted means that only people with the link to your video can view it.
Private means that only the people you invite to view your video can view it. YouTube allows you to invite up to 50 people.
There is also the option to “Schedule”, which means that you can select a time and date for your video to go from private to public.
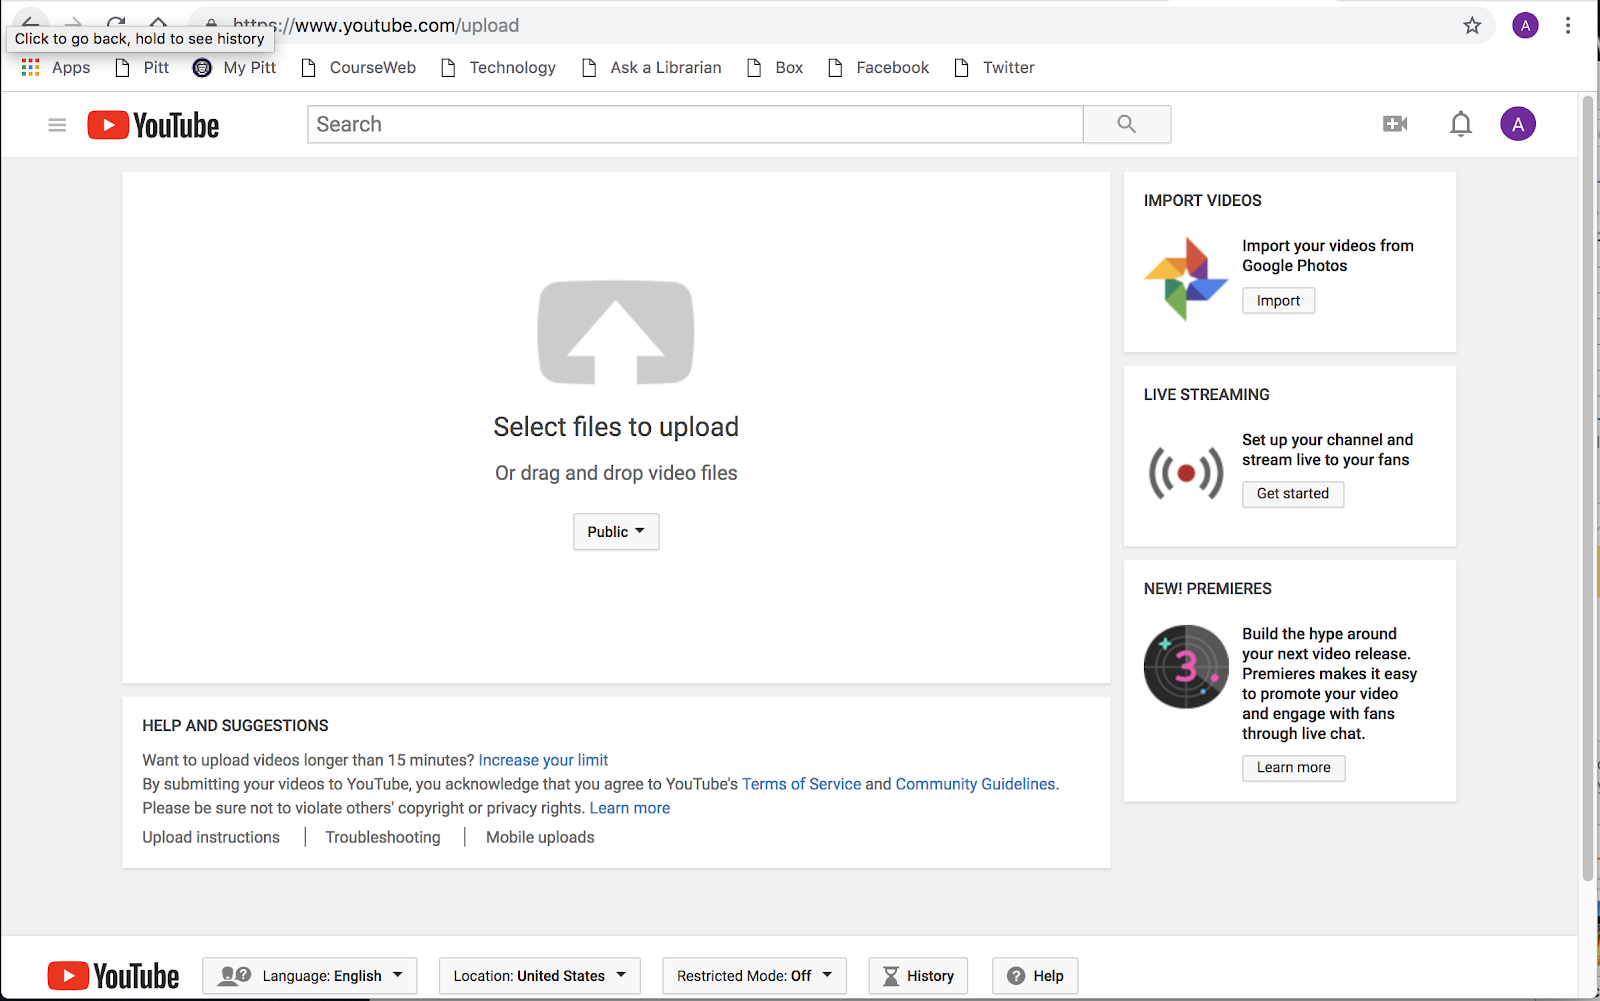
To upload your file you can click on the big red arrow to upload your file. This file can come directly from your desktop or phone.
After uploading your video file, you are able to post a description of your video, title your project, and also tag your video. A tag is keywords that allow for easier searches.

In the upper left hand corner of the page there are three gray lines. If you click on these a menu pops up that gives you different options between clicking on home, trending, subscriptions, your library, settings and much more. This menu is your go to when you need to find an old video you saved or watch a show. It is also good for accessing your setting when something needs updated or modified.

Comments
Post a Comment